
Managing Company Branding
Account Owners and Billing Managers can upload and manage company logos from the Branding tab in Settings.
Your uploaded logos are used across documents, communications, templates, and profile displays within the platform.
🧭 Accessing Branding Settings
- Click the Settings ⚙️ icon (bottom-left corner)
- Select Branding
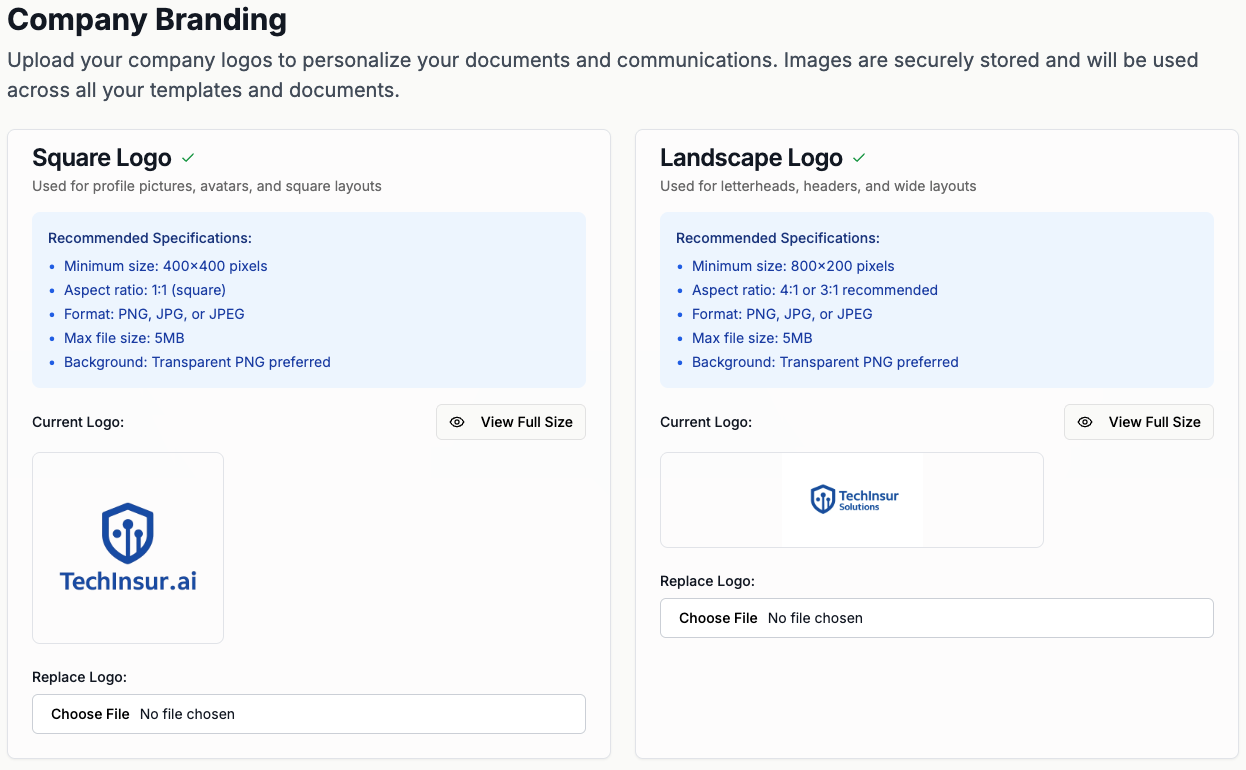
🟦 Square Logo
The Square Logo is typically used for:
- Profile displays
- Avatars
- Email signatures
- Social media-style layouts
- Mobile-style icons
Recommended Specifications
- Minimum size: 400 × 400 pixels
- Aspect ratio: 1:1 (square)
- Format: PNG, JPG, or JPEG
- Maximum file size: 5MB
- Background: Transparent PNG preferred
Replacing the Square Logo
- Under Square Logo, click Choose File
- Select your new logo file
- Upload and confirm
You can use View Full Size to preview the current logo before replacing it.
🟩 Landscape Logo
The Landscape Logo is typically used for:
- Document headers
- Letterheads
- Wide layouts
- Website-style banners
- Presentation-style layouts
Recommended Specifications
- Minimum size: 800 × 200 pixels
- Aspect ratio: 4:1 or 3:1 recommended
- Format: PNG, JPG, or JPEG
- Maximum file size: 5MB
- Background: Transparent PNG preferred
Replacing the Landscape Logo
- Under Landscape Logo, click Choose File
- Select your new logo file
- Upload and confirm
Use View Full Size to preview the current logo.
🧾 How Logos Are Used
Your uploaded logos may appear in:
- Documents generated within the platform
- Client-facing communications
- Email notifications
- Letterheads and headers
- Templates and branded outputs
Keeping your logos updated ensures a consistent client experience.
💡 Best Practices
- Use high-resolution logos for optimal display quality
- Upload a transparent PNG when possible
- Keep branding consistent with your official website
- Review both square and landscape formats for best fit